
157 lines
7.6 KiB
Markdown
157 lines
7.6 KiB
Markdown
# FirebaseUI for iOS — UI Bindings for Firebase
|
|
|
|
          
|
|
|
|
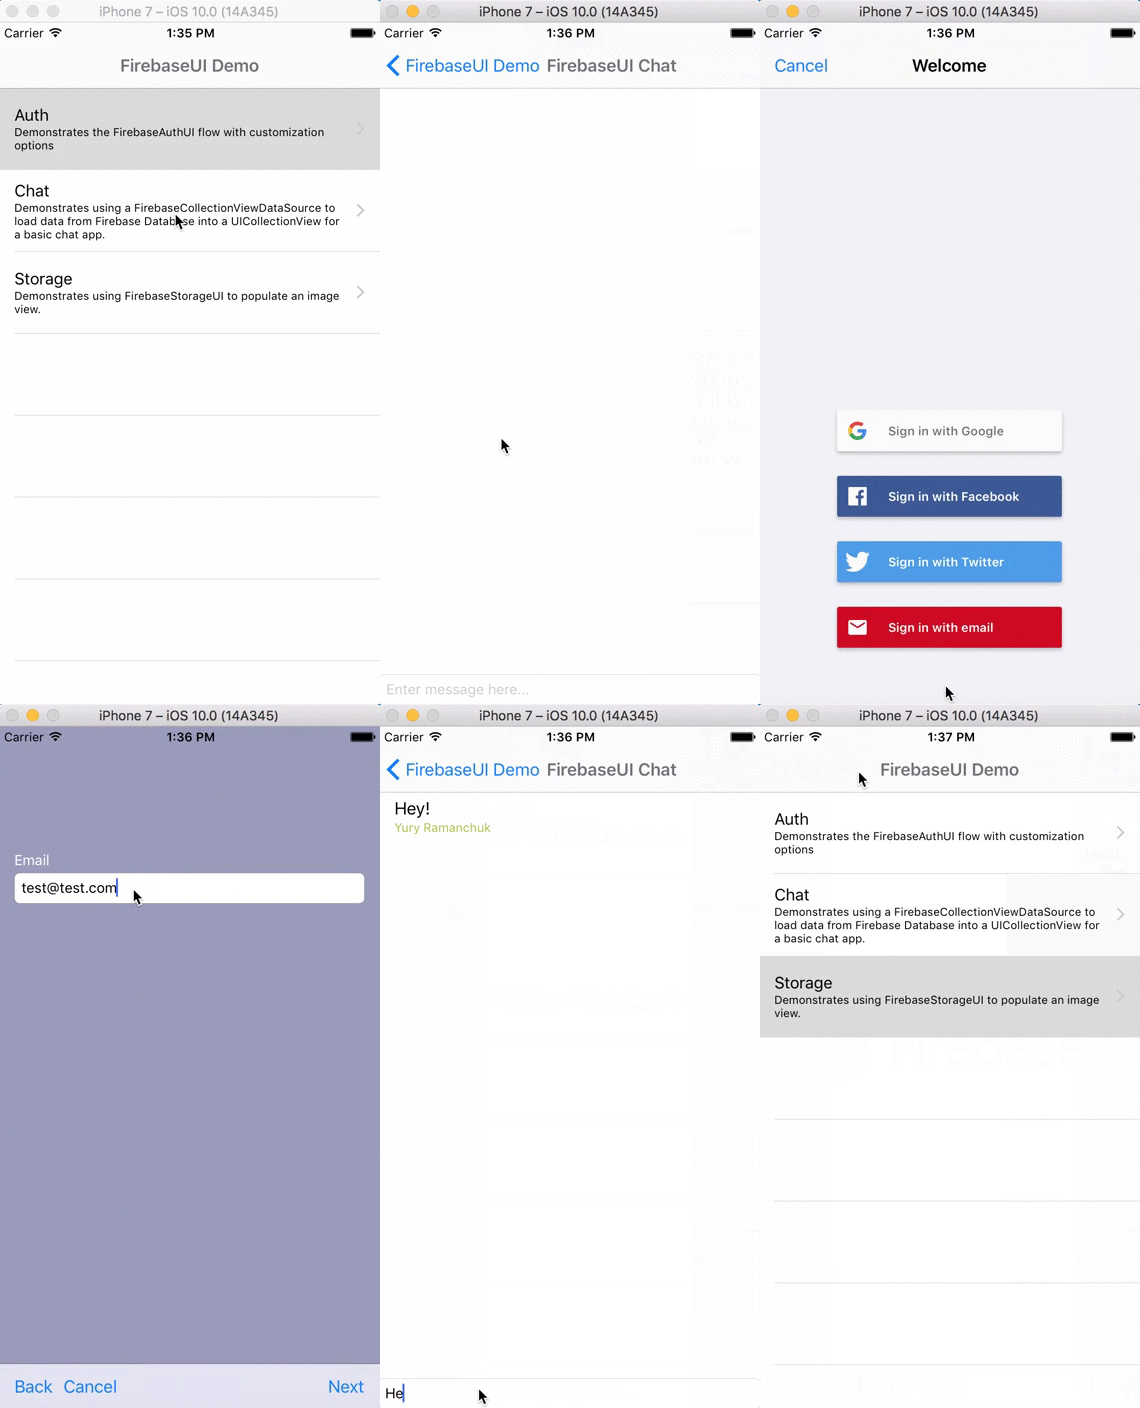
FirebaseUI is an open-source library for iOS that allows you to quickly connect common UI elements to the [Firebase](https://firebase.google.com?utm_source=FirebaseUI-iOS) database for data storage, allowing views to be updated in realtime as they change, and providing simple interfaces for common tasks like displaying lists or collections of items.
|
|
|
|
Additionally, FirebaseUI simplifies Firebase authentication by providing easy to use auth methods that integrate with common identity providers like Facebook, Twitter, and Google as well as allowing developers to use a built in headful UI for ease of development.
|
|
|
|
FirebaseUI clients are also available for [Android](https://github.com/firebase/FirebaseUI-Android) and [web](https://github.com/firebase/firebaseui-web).
|
|
|
|
|
|
|
|
## Installing FirebaseUI for iOS
|
|
|
|
FirebaseUI supports iOS 10.0+ and Xcode 11+. We recommend using [CocoaPods](https://cocoapods.org/pods/FirebaseUI), add
|
|
the following to your `Podfile`:
|
|
|
|
```ruby
|
|
pod 'FirebaseUI', '~> 8.0' # Pull in all Firebase UI features
|
|
```
|
|
|
|
If you don't want to use all of FirebaseUI, there are multiple subspecs which can selectively install subsets of the full feature set:
|
|
|
|
```ruby
|
|
# Only pull in Firestore features
|
|
pod 'FirebaseUI/Firestore', '~> 8.0'
|
|
|
|
# Only pull in Database features
|
|
pod 'FirebaseUI/Database', '~> 8.0'
|
|
|
|
# Only pull in Storage features
|
|
pod 'FirebaseUI/Storage', '~> 8.0'
|
|
|
|
# Only pull in Auth features
|
|
pod 'FirebaseUI/Auth', '~> 8.0'
|
|
|
|
# Only pull in Facebook login features
|
|
pod 'FirebaseUI/Facebook', '~> 8.0'
|
|
|
|
# Only pull in Google login features
|
|
pod 'FirebaseUI/Google', '~> 8.0'
|
|
|
|
# Only pull in Phone Auth login features
|
|
pod 'FirebaseUI/Phone', '~> 8.0'
|
|
```
|
|
|
|
If you're including FirebaseUI in a Swift project, make sure you also have:
|
|
|
|
```ruby
|
|
platform :ios, '10.0'
|
|
use_frameworks!
|
|
```
|
|
|
|
Otherwise, you can include the FirebaseUI Xcode project from this repo in
|
|
your project. You also need to
|
|
[add the Firebase framework](https://firebase.google.com/docs/ios/setup)
|
|
to your project.
|
|
|
|
## Documentation
|
|
|
|
The READMEs for components of FirebaseUI can be found in their respective
|
|
project folders.
|
|
|
|
- [Auth](Auth/README.md)
|
|
- [PhoneAuth](PhoneAuth/README.md)
|
|
- [Database](Database/README.md)
|
|
- [Firestore](Firestore/README.md)
|
|
- [Storage](Storage/README.md)
|
|
|
|
## Local Setup
|
|
|
|
If you'd like to contribute to FirebaseUI for iOS, you'll need to run the
|
|
following commands to get your environment set up:
|
|
|
|
```bash
|
|
$ git clone https://github.com/firebase/FirebaseUI-iOS.git
|
|
$ cd FirebaseUI-iOS
|
|
$ cd Auth # or PhoneAuth, Database, etc
|
|
$ pod install
|
|
```
|
|
|
|
Alternatively you can use `pod try FirebaseUI` to install the Objective-C or Swift sample projects.
|
|
|
|
## Sample Project Configuration
|
|
|
|
You'll have to configure your Xcode project in order to run the samples.
|
|
|
|
1. Your Xcode project should contain a `GoogleService-Info.plist`, downloaded from [Firebase console](https://console.firebase.google.com) when you add your app to a Firebase project.<br>
|
|
Copy the `GoogleService-Info.plist` into the sample project folder (`samples/obj-c/GoogleService-Info.plist` or `samples/swift/GoogleService-Info.plist`).
|
|
|
|
1. Update URL Types.<br>
|
|
Go to `Project Settings -> Info tab -> Url Types` and update values for:
|
|
+ `REVERSED_CLIENT_ID` (get value from `GoogleService-Info.plist`)
|
|
+ `fb{your-app-id}` (put Facebook App Id)
|
|
|
|
1. Update `Info.plist` with Facebook configuration values
|
|
+ `FacebookAppID -> {your-app-id}` (put Facebook App Id)
|
|
|
|
1. Enable Keychain Sharing.<br>
|
|
Facebook SDK requires keychain sharing.<br>
|
|
This can be done here: `Project Settings -> Capabilities -> KeyChain Sharing -> ON`
|
|
|
|
1. Don't forget to configure your Firebase App Database using [Firebase console](https://console.firebase.google.com).<br>
|
|
Database should contain appropriate read/write permissions and folders (`objc_demo-chat` and `swift_demo-chat` respectively)
|
|
|
|
1. In Order to use `Phone Auth` provider you should [Configure Push Notifications](#configure-apple-push-notifications)
|
|
|
|
#### Configure Apple Push Notifications
|
|
|
|
##### Enable silent push notifications in Xcode
|
|
|
|
* `Push Notification` - Under `Capabilities` tab in your app target choose `Push Notifications` and put the switch to the `On` position.
|
|
* `Background Mode` - Under `Capabilities` tab in your app target choose `Background Modes` put the switch to the `On` position. In the list of available modes select `Background fetch` and `Remote notifications` (If available).
|
|
|
|
##### Upload APNS Certificate to Firebase
|
|
|
|
1. Create your `Provisioning APNS SSL Certificates` by following the steps on the following link.
|
|
https://firebase.google.com/docs/cloud-messaging/ios/certs
|
|
|
|
1. Upload your `APNS Certificate` to Firebase:
|
|
+ Inside your project in the Firebase console, select the gear icon, select `Project Settings`, and then select the `Cloud Messaging` tab.
|
|
+ Select the `Upload Certificate` button for your development certificate, your production certificate, or both. At least one is required.
|
|
+ For each certificate, select the `.p12 file`, and provide the password, if any. Make sure the `bundle ID` for this certificate matches the `bundle ID` of your app. Select `Save`.
|
|
|
|
## Contributing to FirebaseUI
|
|
|
|
### Contributor License Agreements
|
|
|
|
We'd love to accept your sample apps and patches! Before we can take them, we
|
|
have to jump a couple of legal hurdles.
|
|
|
|
Please fill out either the individual or corporate Contributor License Agreement
|
|
(CLA).
|
|
|
|
* If you are an individual writing original source code and you're sure you
|
|
own the intellectual property, then you'll need to sign an [individual CLA]
|
|
(https://developers.google.com/open-source/cla/individual).
|
|
* If you work for a company that wants to allow you to contribute your work,
|
|
then you'll need to sign a [corporate CLA]
|
|
(https://developers.google.com/open-source/cla/corporate).
|
|
|
|
Follow either of the two links above to access the appropriate CLA and
|
|
instructions for how to sign and return it. Once we receive it, we'll be able to
|
|
accept your pull requests.
|
|
|
|
### Contribution Process
|
|
|
|
1. Submit an issue describing your proposed change to the repo in question.
|
|
1. The repo owner will respond to your issue promptly.
|
|
1. If your proposed change is accepted, and you haven't already done so, sign a
|
|
Contributor License Agreement (see details above).
|
|
1. Fork the desired repo, develop and test your code changes.
|
|
1. Ensure that your code adheres to the existing style of the library to which
|
|
you are contributing.
|
|
1. Ensure that your code has an appropriate set of unit tests which all pass.
|
|
1. Submit a pull request
|